What Is Eyelid Surgery (Blepharoplasty)?
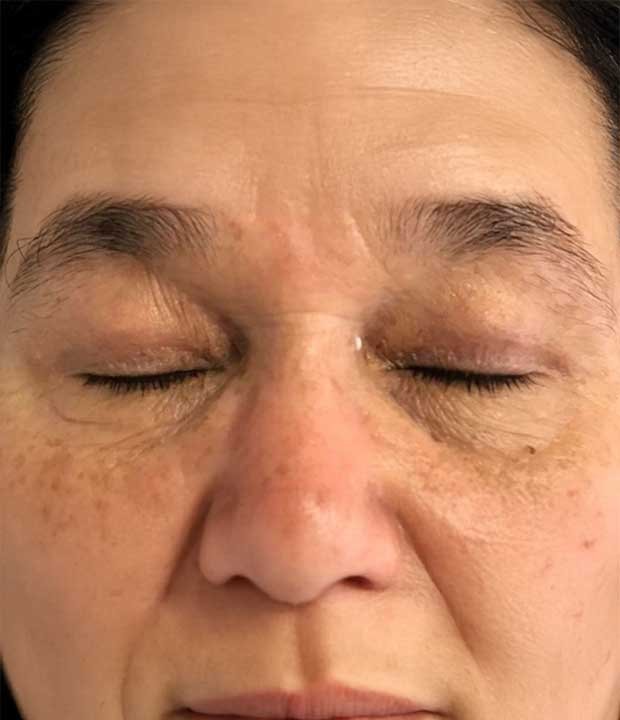
Blepharoplasty is a cosmetic and sometimes functional eyelid surgery that removes or repositions excess skin, fat, and muscle to rejuvenate the eye area. It improves the appearance of tired, puffy, or aged eyes and restores a youthful, refreshed expression. The procedure is commonly performed on both upper and lower eyelids.
Upper Eyelid Blepharoplasty: Technique and Use
How it Works
Surgery Duration
Recovery Process
Recovery Period & Timeline
• Final result 6 month
Return to Social Life
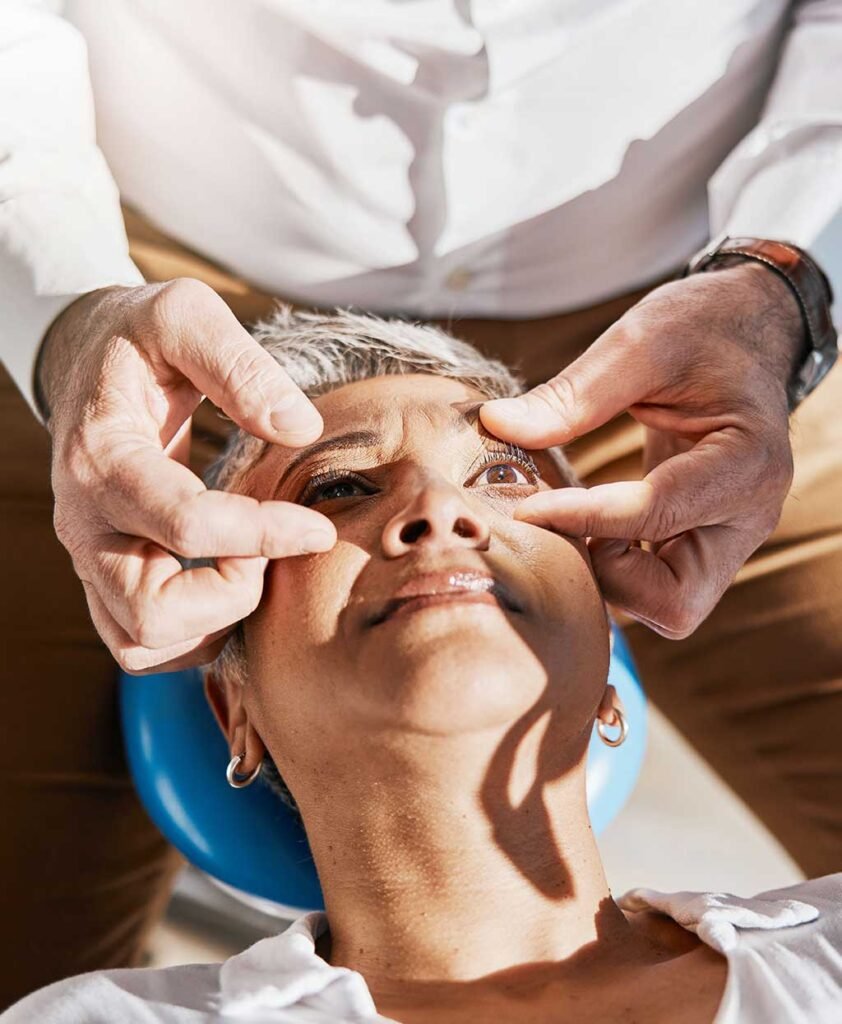
Post-Operative Care & Massage
Final Results Timeline
Lower Eyelid Blepharoplasty: Surgical Techniques
- The incision is made inside the lower eyelid, leaving no external scar
- Herniated fat pads are removed or repositioned over the infraorbital rim
- Orbital septum may be tightened
- This technique preserves eyelid support, reduces complications such as retraction or ectropion
- Skin quality is improved postoperatively with laser resurfacing or chemical peels, if needed
- Best for:
- Younger patients with fat herniation but good skin tone
- Patients with negative vector anatomy (where excessive skin resection may cause retraction)
- Those seeking a natural, scarless correction
Lower Eyelid Blepharoplasty: Surgical Techniques
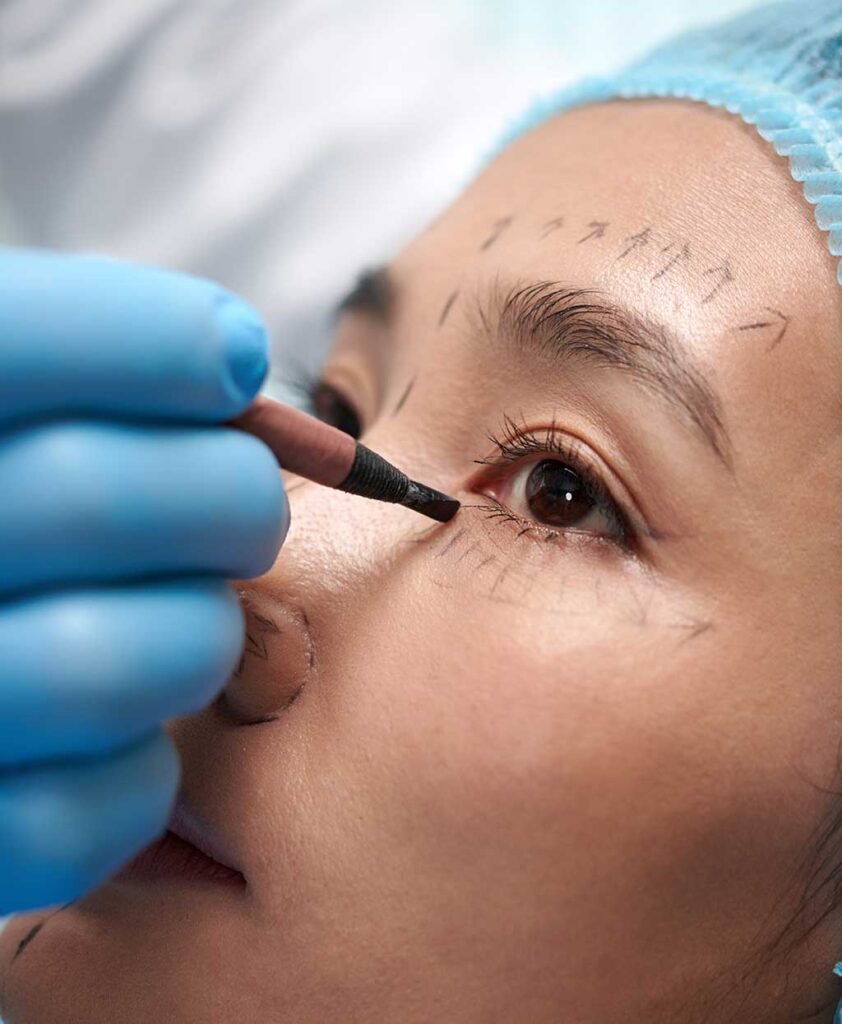
2. Transcutaneous Approach
- ncision made just below the lash line
- Allows access to both fat and excess skin
- Fat is treated as above; a small amount of skin is removed carefully
- Can include orbicularis suspension or canthopexy if support is needed
- Skin quality is improved postoperatively with laser resurfacing or chemical peels, if needed
- Best for:
- Older patients with loose, crepey lower eyelid skin
- Patients with significant skin laxity and wrinkles
- When muscle tightening or lid suspension is also required
How it Works
When to Add Skin Excision or Laser?
What Does Eyelid Surgery Achieve?
Surgery Duration
Recovery Process
Common Complementary Procedures
Fat Repositioning vs. Fat Grafting in Lower Eyelid and Midface Surgery
When restoring volume and contour in the lower eyelid and midface region, two common techniques are used: fat repositioning and fat grafting. Both aim to reduce hollowness, smooth the lid-cheek transition, and rejuvenate the under-eye area—but they differ in approach, indication, and results.
Fat Repositioning (with Blepharoplasty)
What is it?
Fat repositioning involves mobilizing the patient’s own orbital fat pads (which normally cause under-eye bags) and transferring them downward over the orbital rim to fill the tear trough or lid-cheek junction.
How it works:
During transconjunctival blepharoplasty, the surgeon releases the fat pads from their original position and repositions them beneath the muscle or periosteum, securing them with fine sutures.
Advantages:
✅ Uses the natural orbital fat already in place
✅ Integrated into eyelid surgery (no additional donor site)
✅ Maintains vascular connection, improving fat survival and minimizing unpredictability
✅ Excellent for patients with bags + hollowness (volume redistribution)
✅ More predictable and smooth integration under thin eyelid skin
Limitations:
– Limited to the amount of fat present; not suitable for patients with fat loss only
– Requires surgical access to the orbital fat (done during blepharoplasty)
– Cannot volumize larger areas like the cheek or temple
Fat Grafting (Fat Transfer)
What is it?
Fat grafting involves harvesting fat from another part of the body (usually abdomen or thighs), purifying it, and injecting it into areas of volume loss in the face—such as under-eyes, cheeks, temples, nasolabial folds.
How it works:
Using gentle liposuction and centrifugation, the fat is processed and then injected in small parcels into the target area using blunt cannulas.
Advantages:
✅ Unlimited supply—fat can be harvested and sculpted as needed
✅ Ideal for patients with generalized facial volume loss
✅ Can treat multiple facial areas in one session
✅ Often used in combination with facelift or eyelid surgery
✅ Long-lasting results if fat survives properly
Limitations:
– Unpredictable fat survival (30–70%) depending on technique, tissue quality, and individual biology
– May require repeat sessions for optimal results
– Risk of irregularities, nodules, or overcorrection in delicate areas like the lower eyelid if not expertly performed
– Slightly longer recovery due to swelling in both donor and recipient sites
Why I Prefer the Transconjunctival Approach with Fat Repositioning and Laser
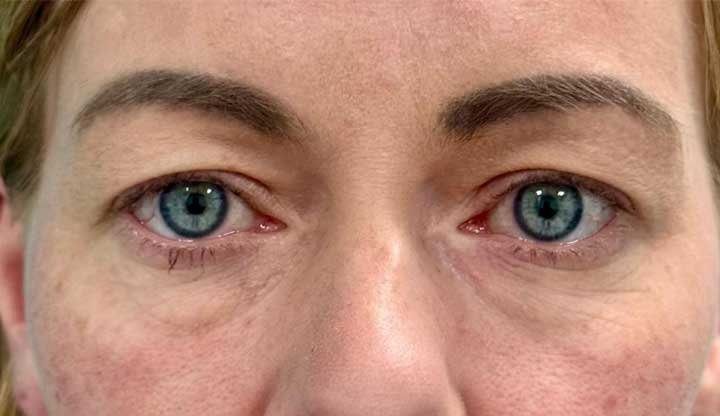
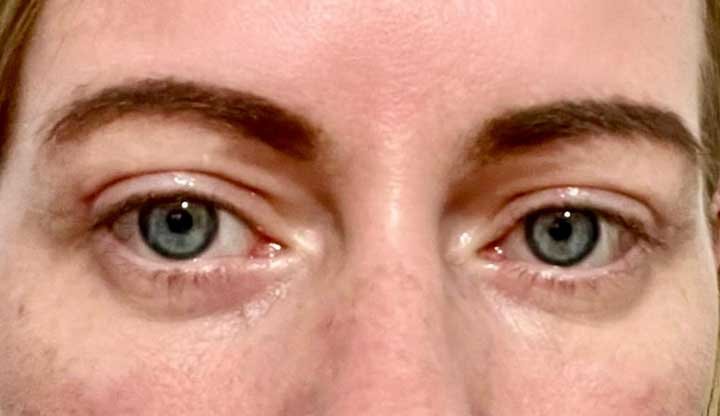
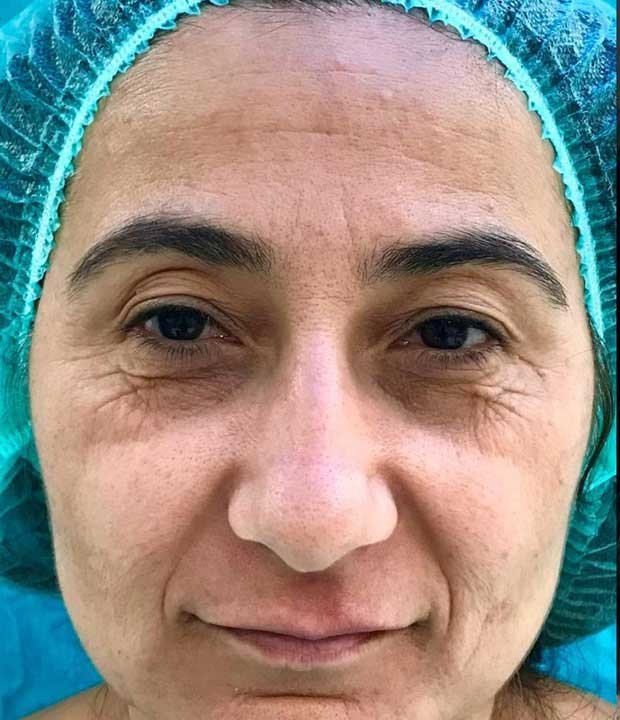
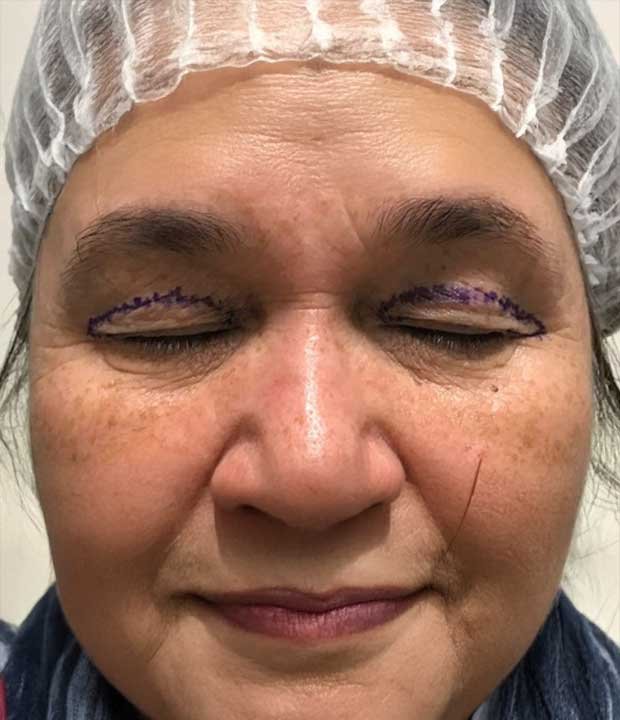
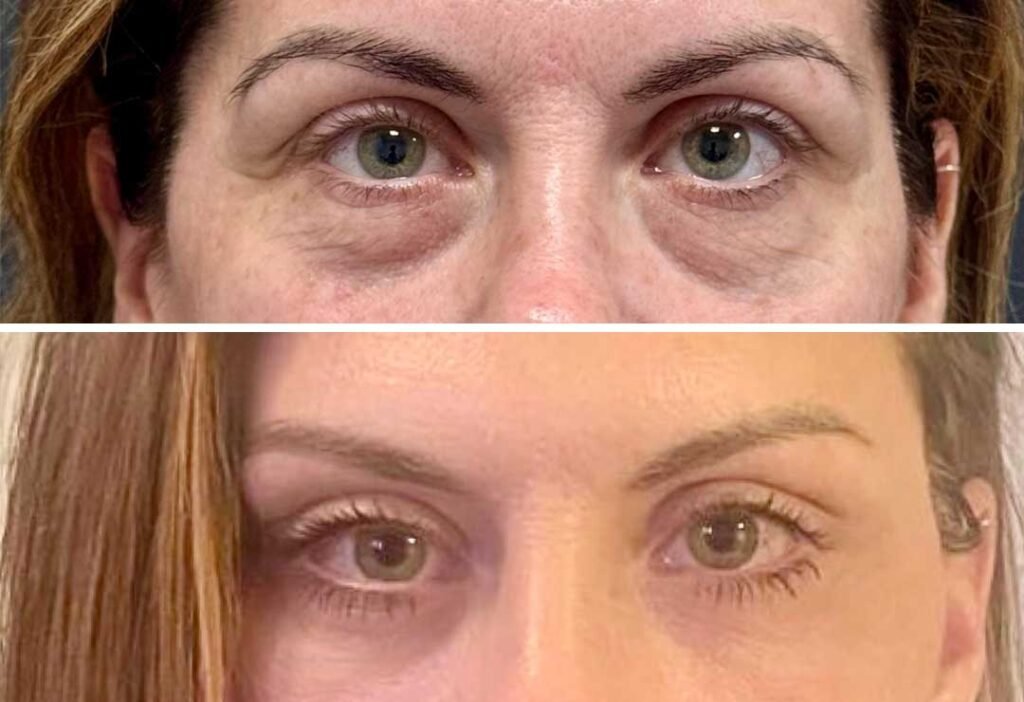
Before/After Gallery